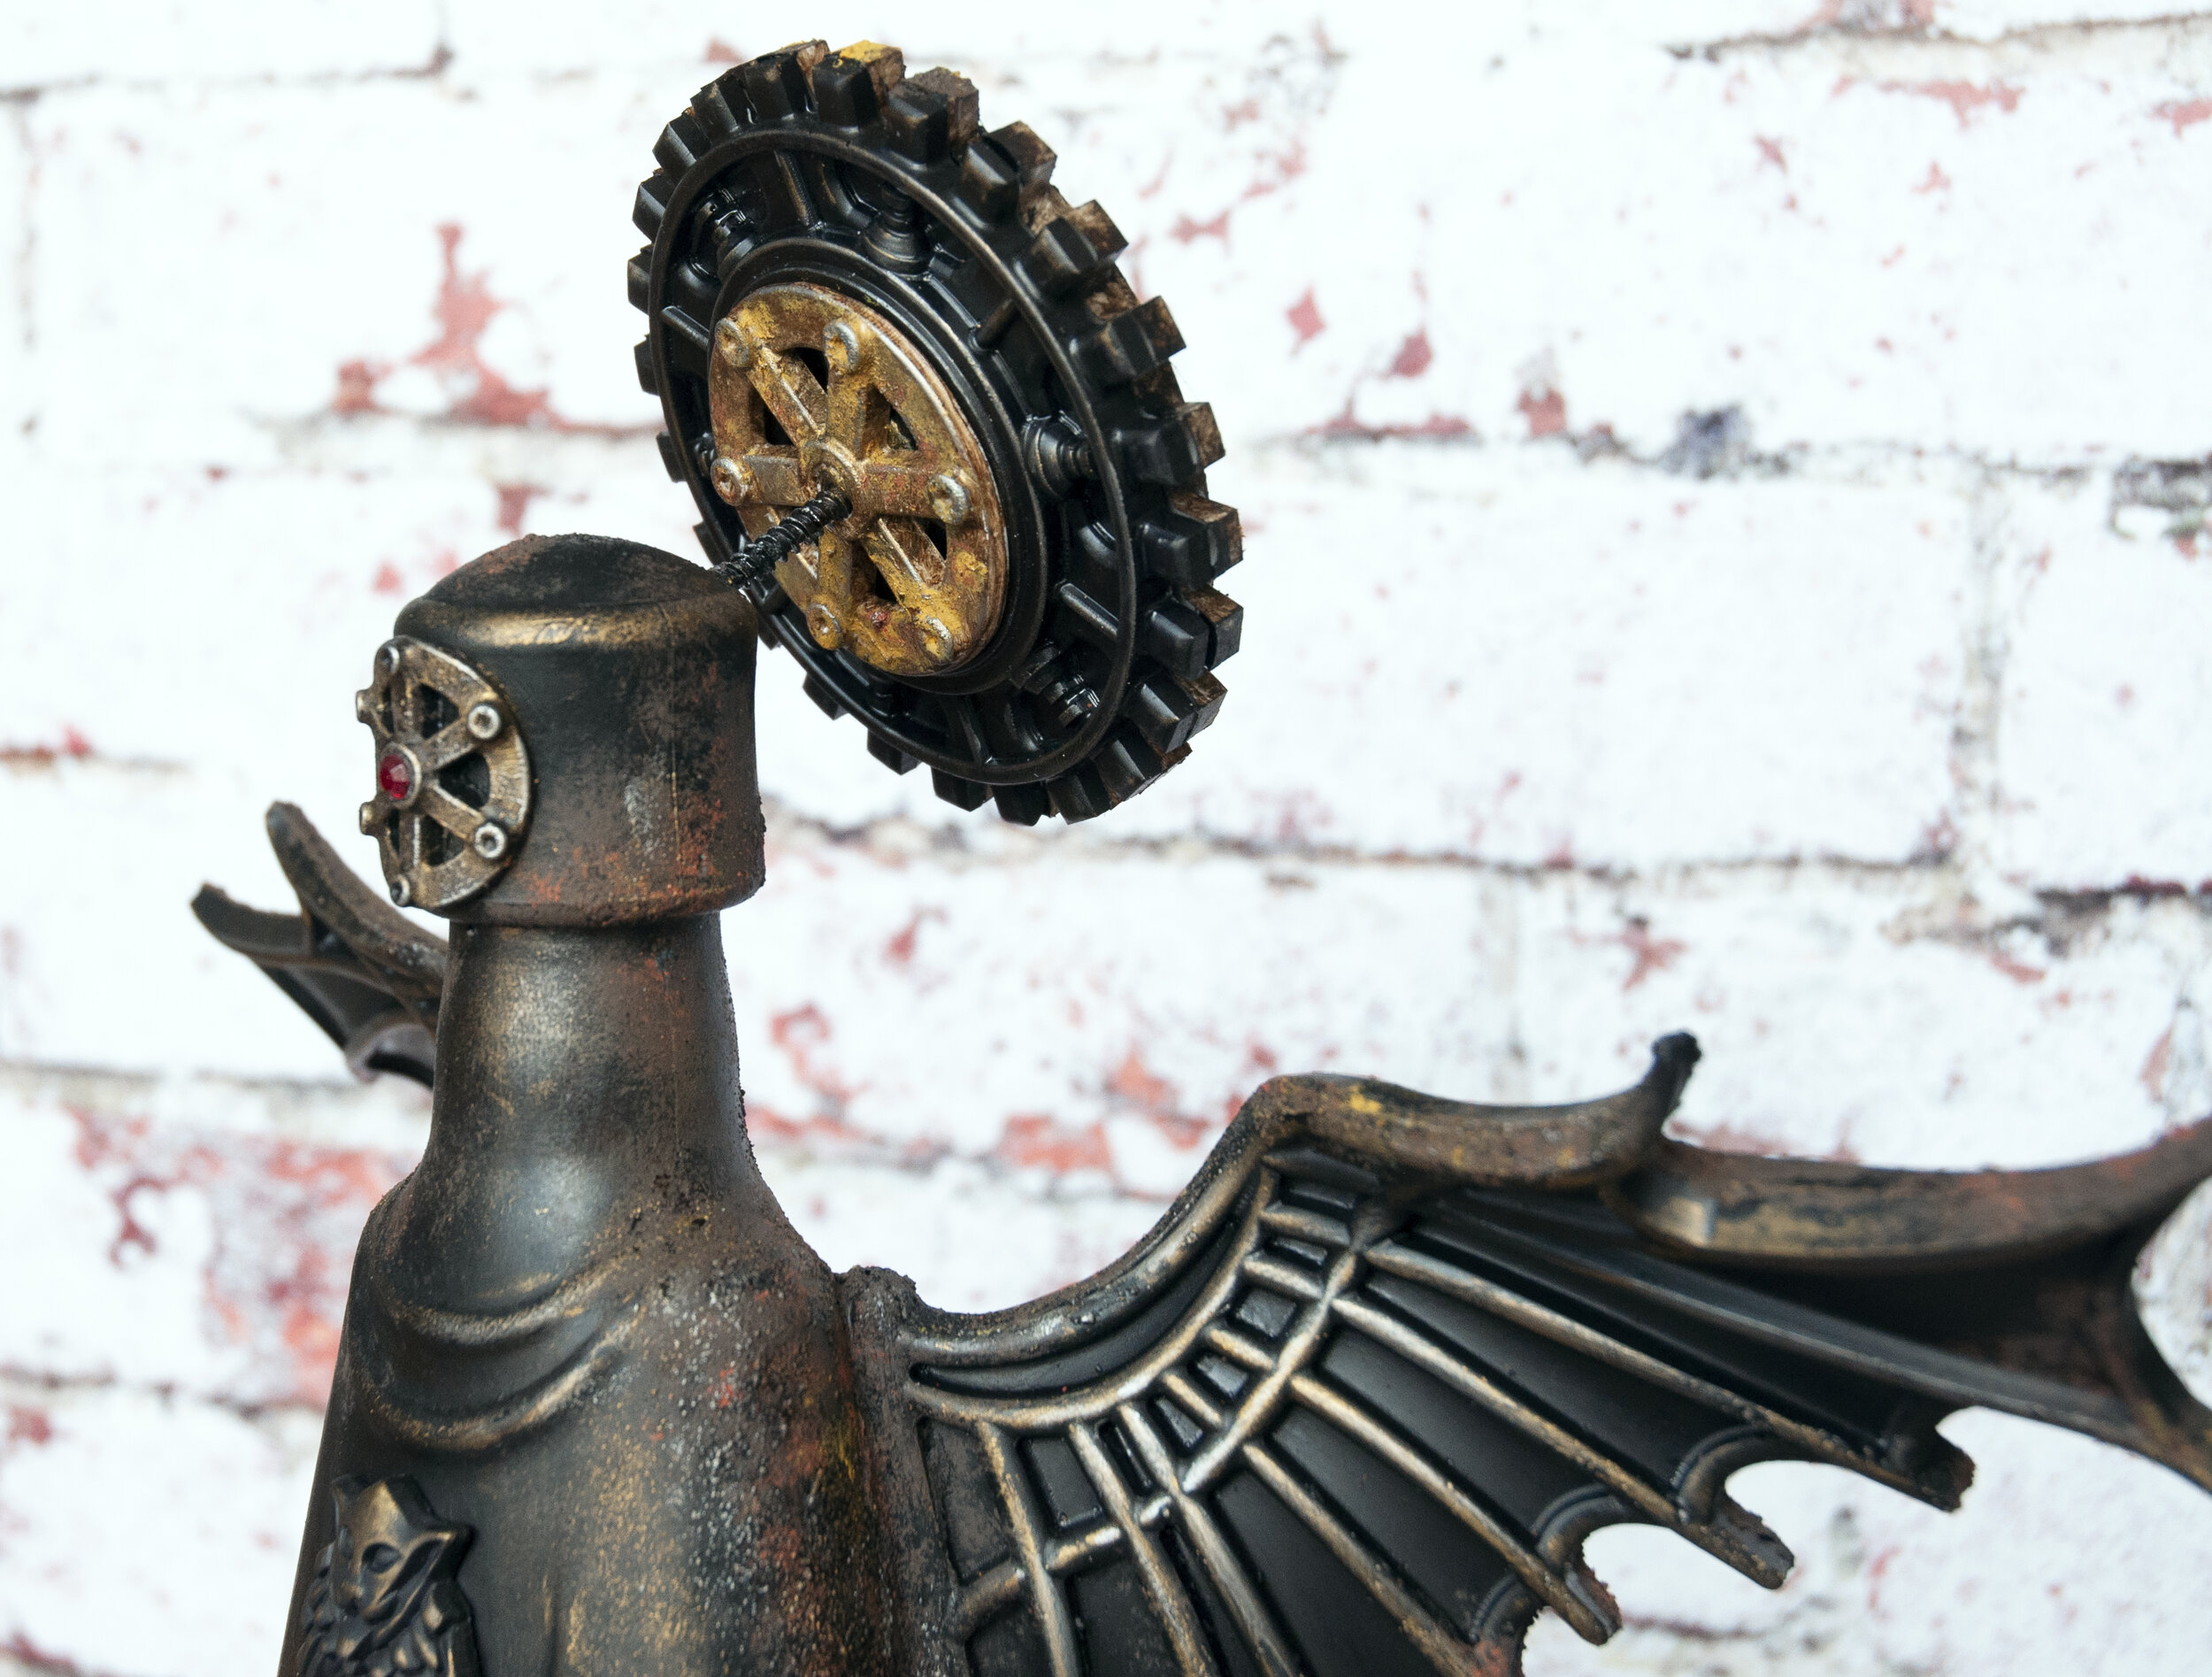
Steampunk Guardian
Hi everyone,
Today I’m sharing a project that I started during a live stream on my YouTube channel. It was a bit too big a project for one hour, so I finished it afterwards and made a ‘part 2’ video. You can find them both bellow:
The base of this project is a bottle of a liqueur called Frangelico, which is designed to look like a monk’s robe. I’ve had the bottle for a while, planning on altering it, but I wasn’t sure what to do with it… Until I got the Lady Vagabond Fly Machine soft mold, the wings were a perfect fit! I decided to add a gear ‘halo’ and my steampunk guardian was born :)
You can see the making process in the videos, so I won’t go into into it here, but feel free to ask anything! You can see more of the details in the photos bellow, and under them you’ll find a material list.
Hope you enjoyed this project, I’m really happy with how it came out. I specifically like that the ‘head’ can turn and follow you with one shiny eye…
(trust me to make a creepy angel robot… hahaha!)
xx
Naama
Materials list:
Stamperia, Lady Vagabond Fly Machine soft mold (K3PTA482)
Prima Marketing, Keyholes silicon mold (815301)
Smooth-cast 300
Smooth-cast Onyx
Kaisercraft, Linear Lines stencil
Clear gesso (I used Dina Wakley’s)
Tim Holtz texture paste
Tim holtz translucent grit paste
Amsterdam black and brown acrylic paints
Finnabair, Art Extravagance, rust effect paste (trio)
Finnabair, Metallique Wax, vintage gold and brushed iron
E6000 glue and hot glue


